Is Now a Good Time to Sow my Seeds?
Starting plants from seeds give us numerous benefits in gardening:
The rewarding experience watching plants grow from tiny seeds to healthy seedlings. It's a cost-effective way to grow, saving a significant amount of money. There is the freedom to choose and cultivate healthy varieties that thrive in the locality. We can customize our gardens by mixing and matching different plants or focusing on specific varieties, allowing us to grow as many or as few as we want, (or swap / give away the surplus!)
But we need to persuade these little packages of dormant life, the seeds, to spring into action. Each has their own predetermined conditions but warmth is key. Sowing direct outside can generally start about now, mid-April the soil is starting to warm up. Except currently the ground is still very wet; wet soils rot the seeds and encourage slugs which love feasting on newly emerged, tender seedlings. Starting seedlings off indoors gives them some growth to fend off nibblers when planted out later in better weather.
Reasons to sow indoors include:
- Some plants need warm conditions to germinate and grow, such as tender and half-hardy flowers and vegetables in frost free conditions.
- Additional protection, perhaps from slugs or damp weather.
- Faster, more reliable germination under controlled conditions
- Earlier crops or flowers; sowing seeds indoors gives a head start.
- Sowing indoors gives slow-growing plants an extended period they need to flower or crop
- Particularly if you only have a few seeds, or they are rare or expensive to ensure greater success.
Some simple tips for how to sow seeds indoors:
- Choose the right seeds.
Choose seeds from a reputable DEFRA registered seller. If you want Organic look out for the accreditation by the Soil Association (for example). Opt for seeds that match your skill level and available growing space. Some easier to grow are herbs like basil, parsley, or flowers such as marigolds or zinnias.
2. Select your containers.
Use clean containers with drainage holes at the bottom to prevent waterlogging. If re-using or recycling pots and trays I give them a good scrub with an old toothbrush. Pots made from newspaper or toilet roll middles are environmentally friendly.
- Prepare the growing medium.
Use a fine texture, sterile seed-compost mix or make your own https://justseed.com/blogs/outside-no-9/to-use-or-not-to-use-seed-compost. This mix ensures good aeration and drainage, promoting healthy root growth.
- Moisten the Soil.
Before sowing, moisten the seed compost thoroughly, making sure there are no large lumps and tapping it down. I soak mine in a tray of water and then drain to ensure it's not soggy. Or a spray bottle filled with tap water can help in gentle watering.
- Planting Depth
Follow the instructions on the seed packet – we try to tell you when to sow, how deep, how far apart, and whether to cover the seeds or not. Many seeds like to be covered by the equivalent of their size in soil depth, but some need light to germinate.
- Spacing.
Sow seeds evenly across the soil surface, leaving adequate space between them to allow for growth. Crowded seedlings can compete for resources and become weak.
- Covering Seeds.
Small seeds such as ageratum need barely covering with a thin layer of compost or vermiculite. Larger seeds such as sunflowers deeper whilst very fine seeds such as nicotiana are sown on the surface and the pot or tray covered with clingfilm or put inside a plastic bag to retain humidity.
- Provide Adequate Light.
Place seed trays in a bright location, where they can receive at least 6-8 hours of sunlight daily. If natural light is insufficient, consider using artificial grow lights.
- Maintain Consistent Moisture.
Water your seeds gently and carefully with a fine spray, better still from below to avoid disturbing the seeds. I stand the pots or trays in water until the surface is moist and then drain off. Keep moist but not waterlogged. Too wet and the seeds might rot: too dry, and they can wilt and collapse.
- Monitor Temperature.
Most seeds germinate best at temperatures between 18-24°C. I have a small window electric propagator that holds about 6 pots or a half tray. When potting on I transfer them to my shed on a heated mat to maintain optimal temperatures as my indoor environment is cool. But I have success growing herbs on my north facing kitchen windowsill too without any heat.
- Ventilate.
Remove any coverings once the seeds begin to germinate. Ensure good air circulation around the seedlings to prevent damping off and fungal diseases. Humid kitchens and bathrooms are not always beneficial.
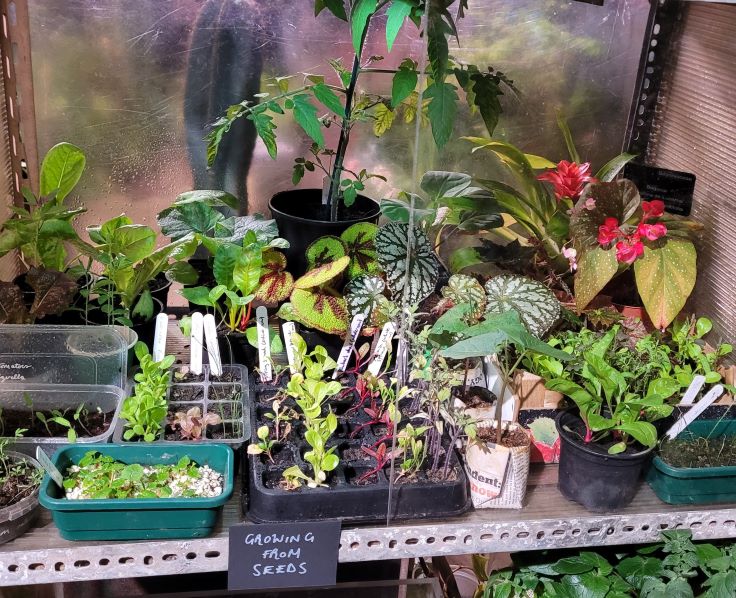
- Label Your Pots and Seed Trays.
Use plant labels to identify the seeds you've planted. I scrub mine every year along with my pots and trays to reuse. When laying out the pots, seed compost and seed packet I write the label at the same time before starting. Once the season begins, I never remember which is which!
- Practice Patience.
Germination times vary depending on the type of plant, so be patient and consistent with your care routine. Some seeds may sprout in days, while others may take weeks.
A wide range of seeds can be started off indoors, including tender crops (courgettes and cucumbers); half-hardy annuals (cosmos and nasturtiums); hardy annuals and veg to give them a head start; annual climbers (morning glory and sweet peas); perennials although these may not flower in their first summer; tender herbs (coriander and basil) and slow-growing crops such as aubergines.